Thursday, February 28, 2013

Meet Stash Dasher Carol Oshiro...

The first Friday of each month we hope to feature a new Stash Dasher. This month's Dasher is Carol, she has been quilting for three years! Her friend Ginger, inspires her by taking her projects to work to share what's she's been working on. This inspiration lead her to enthusiastically get quilting!! She began with a new machine and dove in. She shares that she hasn't followed Norma Jean's rule; "Only have three projects going a time", but she plans to to after she empties a few containers. Carol has taken Norma Jean's class and shares that it has really helped her grow as a quilter. When she began taking photos, she realized that she had 17 containers of projects cut waiting to be sewed along with all kinds of other fabrics. As Carol has looked at her projects, she's not sure why she wanted to make them. However, she is determined to follow through and get them done! She's gone through 16.75 yards so far in our challenge! Go Carol! Go!

Most of Carol's quilts have gone to family, but her goal is to finish projects with this Stash Dash Challenge and have quilts to give her neighbors for Christmas this year!

We wish Carol best of luck on her endeavor!! Like to share your Stash Dash story, email me at parklandparish@gmail.com and you could be featured here!!

Here are some photos of Carol's sewing space and stash... Look familiar? Get sewing and share with us!


It's not to late to become a Stash Dasher! Join in the fun and get those projects done! Call the shop to join (253) 531-4309. Interested in taking Norma Jean's class to help you learn skills to finish up your quilts? Click here to register for next upcoming class.

Happy sewing and may your bobbin always be full!


Friday, February 22, 2013

St. Patrick's Day Runner...

Since we are running this Stash Dash this year, I thought I'd get with the program and start going through my stash. Since much of my family is Irish, I thought it would be fitting to do a St. Patty's Day runner. Here's what I did...


First I took some of my scraps and cut a background piece 10 1/2" by 24 1/2". I then cut 3 strips 2 1/2" by WOF. I had assorted fat quarters and scraps to make my shamrocks.

Then I drew some shamrocks on paper and when I was happy with my shapes I drew them on my steam a seam.


Next I sewed my 2 1/2" strips to my backing fabric to create the border. I then pieced my shamrocks, attached them to my steam a seam and cut them out.


Once I cut out my shamrocks I placed them around my runner and when I was happy with their placement I ironed away!!


Once everything is pressed I stitched around my shamrocks to quilt my runner and just binding and you're done! Fun and quick!


I hope you give it a go! Happy stitching and may your bobbin always be full!

Thursday, February 14, 2013

Let's Twist...

Don't you just love those quilts that look complicated, but aren't really complicated. Using the "twister" tool you can achieve one of those beautiful quilts with just a few easy steps. We'll show you how.


First you begin with 5" or 10" squares sewn together with a 3" border. Then you take your handy dandy tool and begin cutting your twists. Like sew...


Then as you begin sewing the blocks back together you'll begin to see your twist.


We are offering this class at the shop on Monday, March 11th if you'd like to come and learn this fun technique. Click here to register.
Here are a few photos from our last class...


Twisted Pillow

 
Twisted Runner

 
Happy sewing and may your bobbin always be full!
 

Sunday, February 10, 2013

Fat Quarter basket

In honor of our Fat Quarter Sale Tuesday, I'm going to be posting some quick fat quarter projects. The quick basket that I made the other day is the one I will be sharing today. A while back I did a post for my 3 Fat Quarter Apron. You can get to the tutorial here...

For my fat quarter basket I used three fat quarters and a bit of batting. Here's what I did...


As always press your fabric, then trim it to the size you'd like your basket. I made mine 8 1/2 x 6" for the bottom of my basket and 4 1/2 x 6" for the sides. Lay out your bottom and top pieces and sew them together.


Now that you have the outside of your basket you can lay this piece out on a piece of batting.

 
Next I stitched in the ditch to attach my batting to the fabric.


Next fold your piece right sides together and stitch up the ends.


Once you have both ends stitched then poke out your corners like sew, and measure 1 1/4" and draw a line. You will be stitching on this line to make the bottom of your bag. Once you've sewn on your line you can cut the ends off to make a quarter inch seam.


Cute, huh? Ok, now we will make the handles. However, you could not put handles on if you'd like or use ribbon, make yours to suit your purpose!! :) To make the handles I cut 2 1/2" strips and sewed them as if I was making a binding. Sorry, I don't have the photos of that. But I just sewed the strips together, right sides together and then folded them in to make a strap and then top stitched.


I then stitched them to each end of the basket. Now we can work on our lining. You will need to cut a piece that is 17 x 6" if you make it the same size as mine. Right sides together, you will again sew up the sides and make your corners. However, on one side leave a 2" opening to "flip" your basket out.


Now take your basket and turn it batting side out and put in your lining.


Pin it into place and stitch around the top of your basket.


Now you will have something that looks like this. Through the opening you've left in your lining, pull your basket right side out. Top stitch around the top to finish off and you're done. You can make this in all sizes. They make a great gift or treat basket. I think I'll be making some for Easter treats.


There you have it! Happy sewing and may your bobbin always be full!
 
If you're interested in any of the fabrics I used you can purchase them on our site at parklandparishquilts.com


Friday, February 8, 2013

Stash Dash Kick Off...

February begins our dash to use at least 100 yards of our stash this year! We have several ladies taking our challenge and should be a year of great fun and lots of finished UFO's! It's not to late to join in and if you live out of area you can still participate! Contact me at parklandparish@gmail.com and we can get you up to speed!!

Our first featured Stash Dasher is our very own Tracey from the shop! She has graciously shared photos of her stash and UFO's that she's working on.


This is Tracey's sewing area. She's not yet blessed with a wonderful craft/sewing room. I think many of us fit in that category, so we do what we can!
 
Tracey's been quilting for 6 years and loves to volunteer her quilting for Quilts of Valor and other military supporting groups! She has generously made quilts to be donated and shared her talents with many. However, to get on top of her stash this year has adopted our Norma Jean's project rule; "Only have 3 projects going at a time". Norma Jean is a Grand Champion quilter and teaches Free Motion and Machine Quilting here at the Parish. If you're interested in catching up with Norma Jean you can read her featured post here... 2013 is the year to get things done and to that end Tracey came up with this fabulous idea to help us ALL get our UFO's done!
 
Here's a photo of Tracey's first quilt. Now looking at this quilt, she has shared that she can see how far she's come. It's so fun to see how we grow as quilters.
 
 
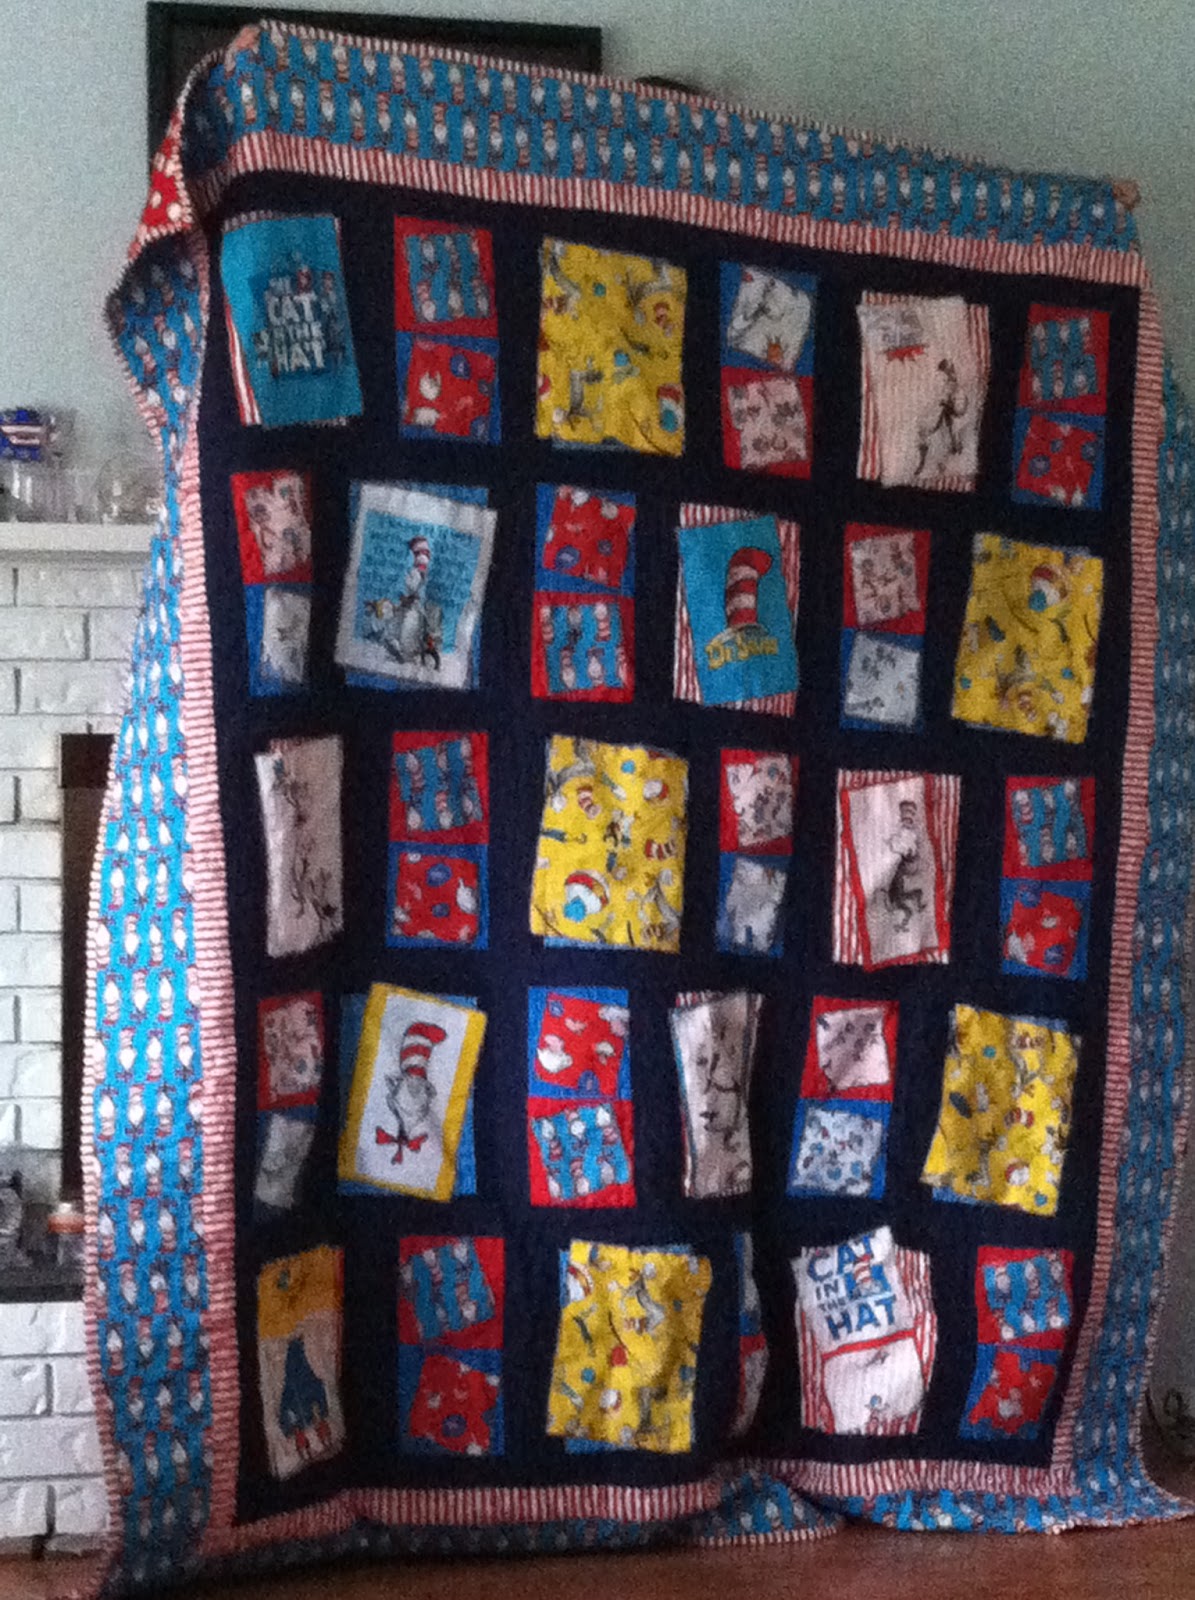
Here are few other of Tracey's quilts that are very close to being finished! Some of our dashers are well on their way to a 100 yards! How about you? Won't you join in on the fun!!


Like I said it's not to late to join us, come in the shop and talk with Tracey and she can take of you or live out of town, email Diane and I can help you! Lets make 2013 the year of getting those UFO's done!!
 
Happy sewing and may your bobbin always be full!