Tuesday, November 27, 2012

Scavenger Hunt...

Have you been taking part in our Scavenger Hunt Give-a-Way? Each week we've been giving out a clue and at the end of the week the winner gets 20% off their entire order! If you'd like to take part there's still time.

This week's clue is:

What blog post project takes only 3 fat quarters?
 
Send your answer to parklandparish@gmail.com by 8pm Thursday, November 29th. Winner will be announced on Friday through our email newsletter and on FaceBook. In two weeks we will have our Grand Prize Drawing for a fabulous Fat Quarter Tower!
 
 
I think that we will be back to our regularly scheduled craziness! We have more tutorials, an interview with Grand Champion Quilter Norma Jean Nyman and more so stay tuned...
 
Happy stitching and may your bobbins always be full!
 
Check out our website at www.parklandparishquilts.com to sign up for deals at The Parish!


Friday, November 16, 2012

Tucker Block...

Have you heard or seen the newest block on the street? It's called the Tucker Block. A gal came into the shop a few weeks ago with and we thought we'd give it a go. Here's how it turned out...

This block is done in the new Windsor Lane fabrics.

You can make this block with 6, 7, 8 or 9 inch squares. For this example she used 6 inch squares. Make a four patch, sewing your four 6 inch squares together. Be sure to nest your seams so the corners meet nicely.


Next sub cut your four patch by cutting a 1 3/4 inch strip on each side of your middle seams.


 You'll now have some thing that looks like this...


Now you do the flip...


Do you see what she did there? You just flip the sub cuts to be the opposite of the block it touches. Now sew your block back together and this is what you'll get...
 
 
Here are some variations...


Here's a whole quilt! Cool huh? Give it a try and send us photos or bring it in for us to see!


Happy stitching and may your bobbins always be full!


Wednesday, November 14, 2012

What to do with a layer cake... Part I

Have you ever just fallen in love with a layer cake, charm square or other fabric bundle and just had to snatch it up? What am I saying? This probably happens all the time!! Right? The problem comes in what to do with it... Well, I'm going to be making a quilt top out our lovely Double Chocolate layer cake and we'll see what happens...


Here's what I did so far... On the back of each layer cake there is a guide that will give you the yield of what you can get out of a layer cake. I really like 'pin wheel' type blocks, so I decided to cut my cake in to 5 inch squares and then cut each one on the diagonal.


If you have the small cutting board that spins, it makes cutting these up is a snap!
 
 
Once I got all my triangles cut and I could just whip through chain piecing my half square triangles.


Now just press and square up your blocks. I was able to square up to 4 1/2 inches. 


The best way to square up is to line up your square ruler on the diagonal and since we are squaring to 4 1/2 you'll want to place the four squares that line up at 2 1/4 in the middle and trip around.

 
Once your units are squared make your piles to make you blocks. While I did randomly choose my fabrics I did have a couple of rules. No two matching fabrics and somewhat even distribution of colors in the block.
 
 
Lots of nesting in this...


Once you get unit sewn together you'll need to snip some seam to get it lay nicely.
 
 
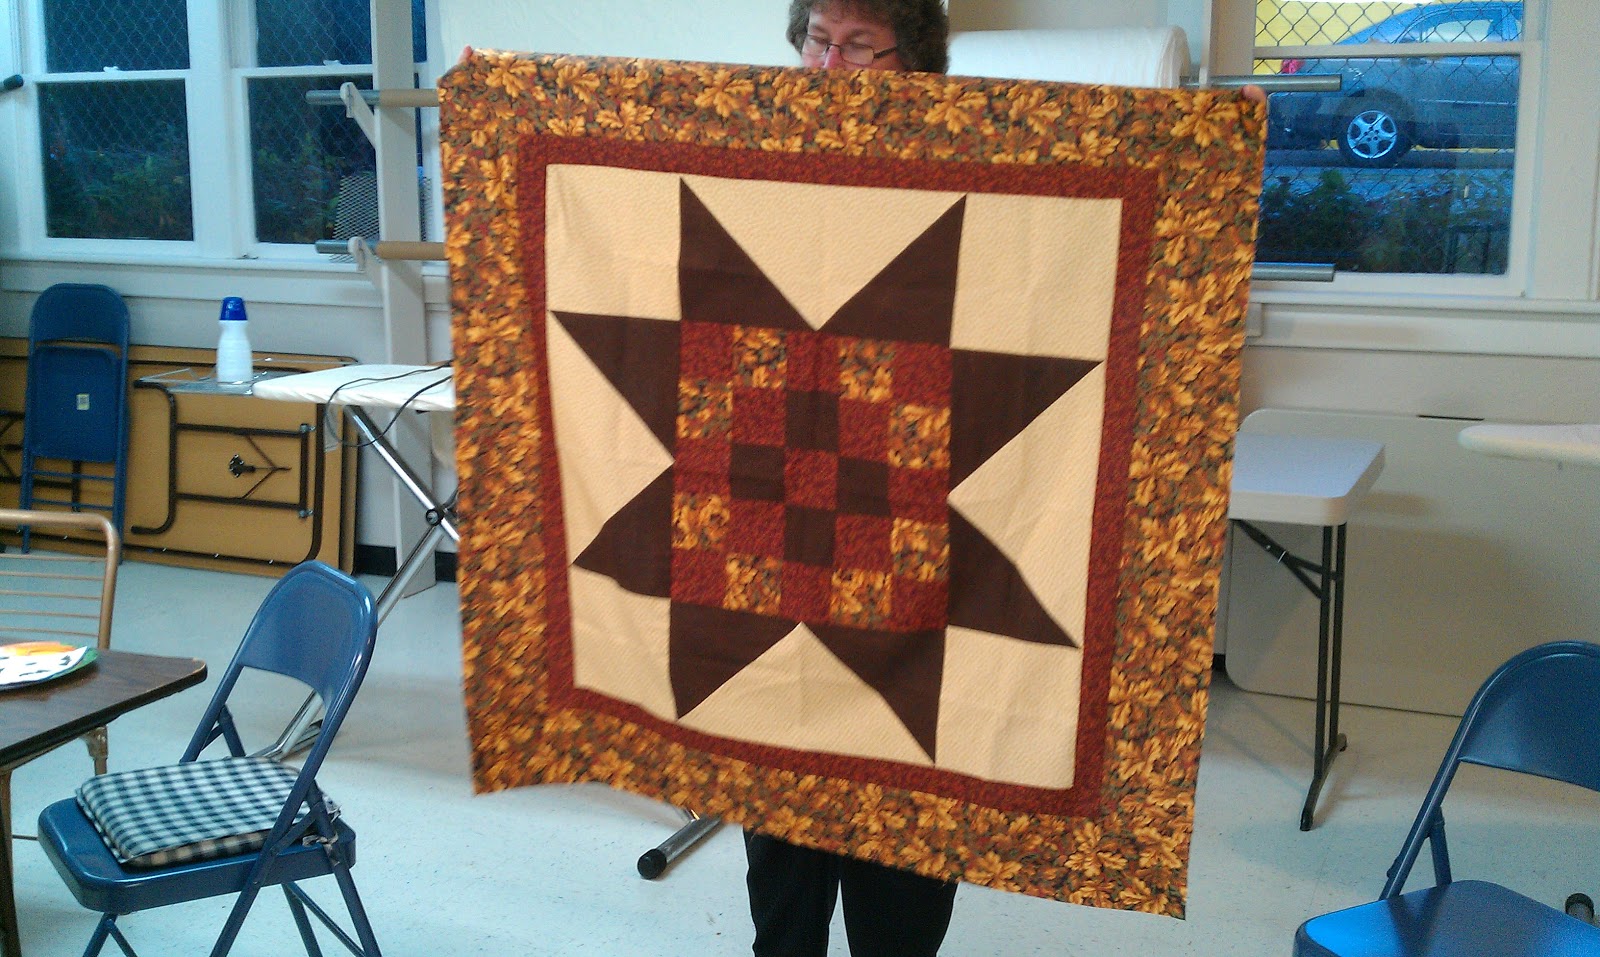
This is how it's coming along...

 
Come in and get a layer cake and make one too! I'll be posting my progress, so stay tuned! Happy stitching and may your bobbins always be full!
 
Would you like to get a layer cake right now? Click here to purchase one!

Monday, November 12, 2012

Finishing Projects...

The best thing about taking a class here at The Parish, is having a finished project at the end of it. Most of our classes, while they may have homework, you can finish the project by the end of the class or series of classes! For me that is always a plus! I get to learn a new thing and/or technique and it's finish at the end of the class.

Case in point, look at these fabulous bags that were made in last Saturday's Miranda Day Bag Class! They are lovely and DONE!!!


Didn't these ladies do a nice job?! The one gal in the top photo was a 'speed demon' and finished her bag before the rest. Reloaded her stuff into her new FABULOUS finished bag and went on her way after class! So if you need a gift or a project you can finish before the holidays, check out our calendar and let us help you get it done!!
 
Happy stitching and may your bobbins always be full!!

Friday, November 9, 2012

Quick Scarf Tutorial...

Looking for a quick gift? We've got you covered. I was on the Moda Bakeshop website the other night and found this fun and easy scarf pattern. It takes one charm pack and 20 inches of flannel (WOF). Here's how mine turned out...


First you take your charm squares and mix them up and pair them so you can zip through chain piecing them. YES, I said mix them up! Put away your OCD for now, believe me it'll be great! After I paired up my squares I just stacked them up and started stitching.


Once you get all your pairs stitched then press them open. Be sure to press half one way and then the other so when you stitch your four patches they will nest nicely. Then pin your seam so you will have nice corners. When you press your four patches, to avoid have that bulk of fabric in the middle of your block snip your fabric and then press. Be sure NOT to snip your stitching!


Then just continue adding to your scarf. Repeating the process of pinning and pressing. I used all but two charm squares. Once you get all your patches sewn together, press and cut your flannel into two strips 9 1/2 inches by WOF. You'll need to sew them together end to end RST. Then lay your flannel strip RST with your patchwork and even them up, pin and stitch 1/4 inch seam around the outside leaving and opening on the side to flip out your scarf.


After I turned out the scarf I stitched another 1/4 inch seam around the edge to close it up and give it a more finished look. There voila' you have a lovely scarf!


 So what do you think!! Easy and fast! Send us your photos if you make one! We'd love to see how they turn out! Happy stitching and may your bobbins always be full!


Sunday, November 4, 2012

New Thimbleberries Clubs...

The end of the year marks the end of some of our Block of the Month's (BOM's) and Clubs for the year. For those of us who have been taking part in the monthly classes, we are now seeing the fruits of our labor! We have now announced our new Thimbleberries Club for 2013! It's exciting because this year you have the choice of two different options! You can do one OR both!!


For 2013 you can either participate in the Block Party BOM to make a one large quilt or you can participate in the Block Party Club that will make 4 different smaller quilts! The board displaying the patterns and fabrics is now in the store for you to view.

What I love about taking part in a BOM or Club is that you have a large project to work on, however it's broken down for you into manageable chunks! Anyone can find time for a block or two per month! Then at the end of the year you have this wonderful large quilt or several smaller quilt tops done!! The smaller ones make perfect throws or lap quilts.

This years last small quilt has a Christmas theme. The beauty of that is that we should have it done in time for Christmas! If you were ambitious you might even be able to get it all quilted.


For each club there is a "joining" fee, in the case of Thimbleberries it is $20. Then there is a small kit fee each month. So your cost and your work is spread out over the year. If you haven't considered a BOM or Quilt Club in the past, maybe consider one for the new year! Stop in the shop or watch the website for registration information.

Happy stitching and may your bobbins always be full!

Friday, November 2, 2012

Project Organization!

Here at the shop we are always looking for ways to make life easier for ourselves and our customers! The other day Tracey came up with this ingenious idea to carry your projects with you, so while you're out you could pick up items needed for any project on your sewing table!

Here's what she did...

For this project you will need:

3 x 5 cards
3 x 5 card holder
pens


First get out all your 'active' projects. Then taking one at a time lay out everything you have on hand for your project. This way you can see what you have and what you still need.


Next write all your project information on your 3 x 5 card, like so...


Finally, on the back of each card staple a small swatch of each fabric you have and the amount of each. Then list the remaining amounts and the colors you still need on the front of the card. When you have all your supplies listed appropriately highlight the project name, indicating this is a completed project supply list.


Now you can pop all your cards into your 3 x 5 card holder, place it in your purse and when you're out and about you'll be ready if you find a quilt shop on your travels! You won't be wondering if that fabric you just love is the right shade or if it's a 1/2 yard or 3/4 yard you need!

Happy sewing and may your bobbins always be full!