Showing posts with label 10 minute table runner. Show all posts

Tuesday, September 25, 2012

Napkins...

Now that Autumn has officially begun, all my thoughts are on gifts. Family, friends, hostess gifts! I guess I'm just a giver and I love hospitality. People gathering together to share a meal and some time together. All excuses to decorate and embellish things around your home to make them more inviting.

I've been going through other blogs and magazine for new ideas of things to make to continue our theme of gifts for under $30. When you make it yourself it can be easily done and they can be so fun and personal!

A few posts back I gave you a tutorial for our 10 Minute Table Runner. I kind of got in a groove and got addicted to completed projects!! So when I made a 'runner' for my step-mom I had to make napkins to go with, so here's what I did.


For this project you will need:

  • sewing machine
  • rotary cutter and cutting mat
  • cotton thread (we used 50 wt)
  • straight pins (if you'd like)
  • 2 yrds of main fabric
  • 1/6 yrd coordinating fabric

1. Press

As always you need to press your fabric. Remember NOT to iron, as this can distort and stretch your fabric.

2. Square up

Remember to square up your fabric so your end product will lay nicely. If you're not sure how to do this see our later post. Click here...

3. Cut your fabric

I cut my main fabric to 12 1/4 x 15 1/2 and my coordinating fabric and bottom (main fabric) to 2 1/2 inch strips.

4. Sew

Next I sewed the strips and main fabric together with 1/4 seams and pressed. Then I sewed the pieced front to the back, right sides together leaving a small opening to turn out.


5. Turn out and poke out corners...

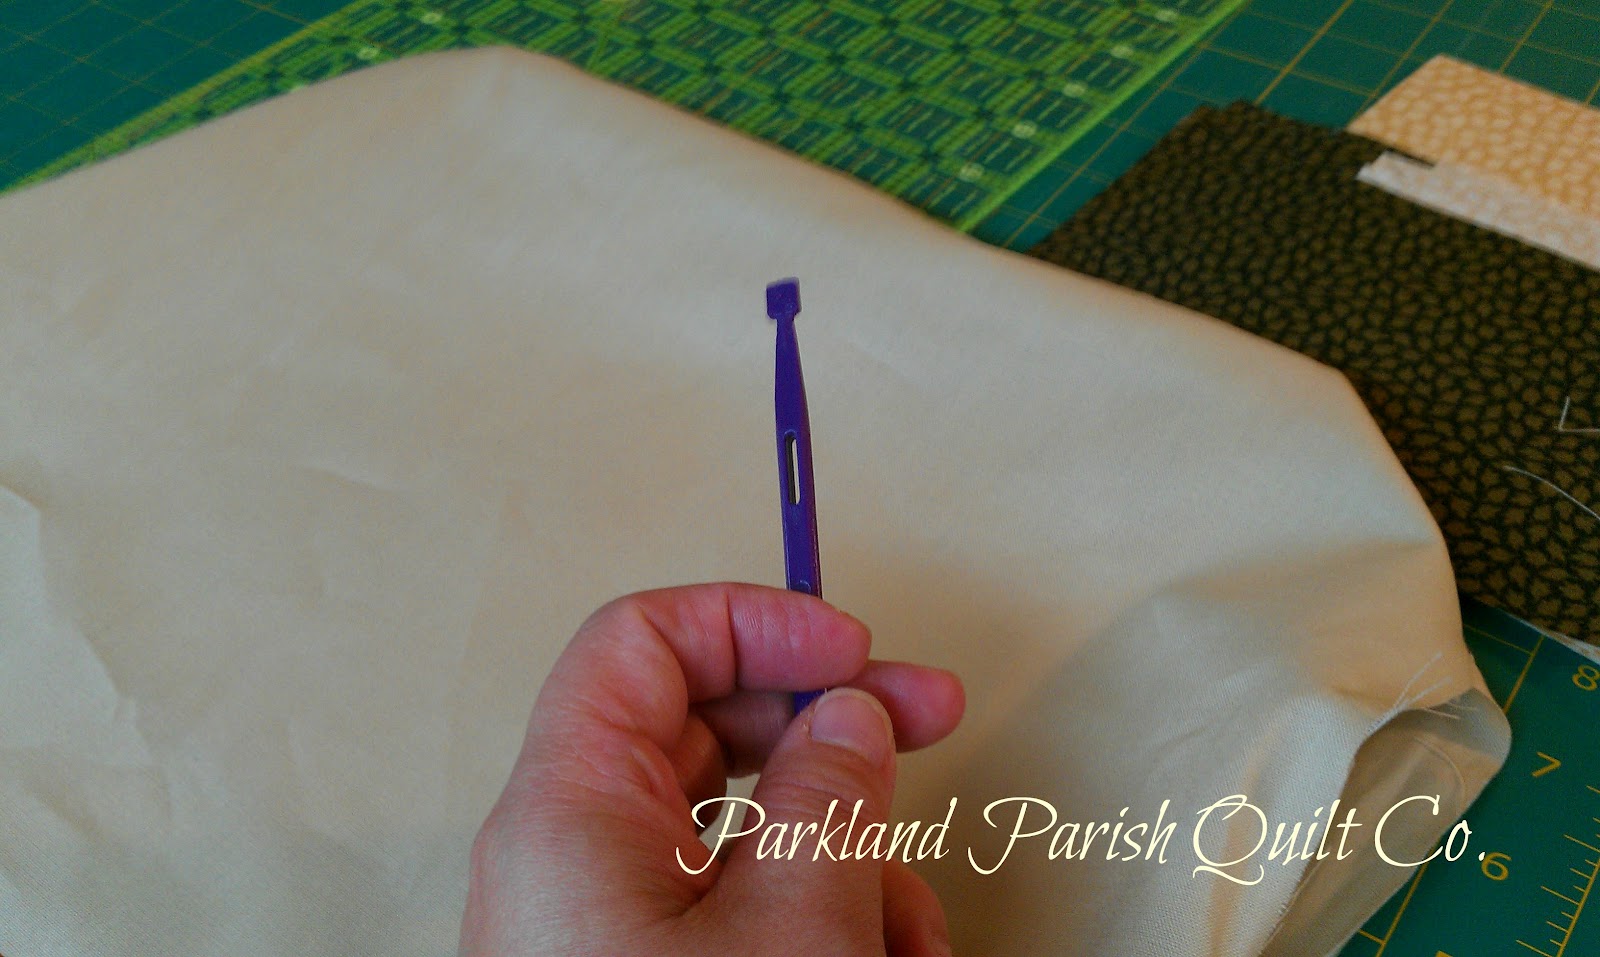
Next I turned out my napkin and used my 'Purple Thang', yes that's actually what it's called and poked out the corners. Then press.


6. Back to the machine...

Once you have your napkin pressed, then you need stitch the open closed and I top stitched around the napkin. Then you're done!!


Once you make one, you'll get them down and find your own style! They make a great gift and they're 'green' if you're into that too! Happy sewing and may your bobbins always be full!!


Sunday, September 9, 2012

Quick Gifts!

Now that fall is just around the corner and kids are back in school are your thoughts turning to the holidays? In our home fall means the beginning of birthday season and ends with the holidays, so I'm always in gift making mode this time of year.

I'm hoping to do some segments on 'Quick Gifts' and 'Gifts for $30 or Less' over the next few weeks as we all begin planning our gift giving and holiday decorating! So stay tuned for upcoming posts!

Today we are making our '10 Minute Table Runner'. This is a great gift for a friend or hostess! It's inexpensive and quick! What could be better? I made this one for a friend that loves Halloween. She goes all out and always vying to be the 'best' house so always give standard size candy bars, etc. She really gets in the holiday mood! I thought this candy and vintage fabric would be great for her candy table. So here we go!


10 Minute Table Runner

For this project you will need:

  • sewing machine
  • rotary cutter and cutting mat or scissors
  • cotton thread (we used 50 wt)
  • straight pins
  • Best Press (Mary Ellen's Starch Alternative)
  • 1/2 yard piece of fabric & 1/3 yard piece of fabric


Step 1. PRESS

The first thing you need to do with any project is to 'Best Press' and press your fabric. I'm using the word PRESS because you should do just that, press your fabric. If you iron your fabric, you're apt to stretch the fabric and you won't get a nice laying runner.

Step 2. Square Up

You want to make sure that your fabric is even. If you're not sure how to 'square up' see my past post on 'Pillowcases'. Then cut your fabric to size. The outer piece should measure 18 inches x wof and the inner piece should measure 11 inches x wof.


Step 3. Layout

Now that your fabric is nicely pressed and 'squared' you can lay out your pieces right sides together and pin the inner piece to the edge of your outer fabric.

Step 4. Sew

Now you will go to your machine and sew a 1/2" seam down the side of your runner. Press your seams away from the center and then pin the other side and sew again.


Step 5. Pull Out

Now that you have your back and center sewn together, you should now have a tube of fabric. Next you will pull your fabric 'right' side out and even up your borders and press.


Step 6. Making the Points

You are now coming into the home stretch! Next you're going to make the points to finish up your runner. Take the end of your tube trim it, if the ends aren't even. Then fold you runner in half and sew up the ends. Do this for each end. Then flip out the points, press and sew down the ends.


Step 8. Press and DONE!

After sewing down your edge of the "envelope" you can just press and rejoice in a COMPLETED project! Quick and makes a wonderful gift!!
 
 
Hope you enjoy your project! Happy sewing and may your bobbins always be full!